An introduction to sashiko
Sashiko (刺し子, often translated as “little stabs”) is a form of Japanese hand stitching made of simple running stitches arranged in patterns. This guide covers where it comes from, the tools involved, and how to make your first rows.
A brief history
Sashiko developed in rural Japan, especially during the Edo period (1603–1868), as a practical technique. Layers of worn fabric were stitched together to make clothing warmer and stronger, and to extend the life of precious cloth. Over time the stitching became decorative as well as functional, with families and regions developing recognisable patterns.
Today sashiko is practised around the world, both as embroidery for its own sake and as a method of visible mending. If you would like to go deeper, look for books and classes by experienced sashiko teachers and textile historians.
What you need
- Fabric: a medium-weight, loosely woven cotton or linen is easiest to stitch through. Many beginners start with a pre-marked panel or a piece of plain fabric.
- Sashiko thread: usually thicker and more matte than ordinary embroidery floss, used as a single strand.
- A sashiko needle: longer than a typical sewing needle, so you can gather several stitches before pulling through.
- A way to mark the pattern: a stencil and fabric marker, a pre-printed panel, or water-soluble pattern fabric.
- Small scissors and, optionally, a thimble.
Making the running stitch

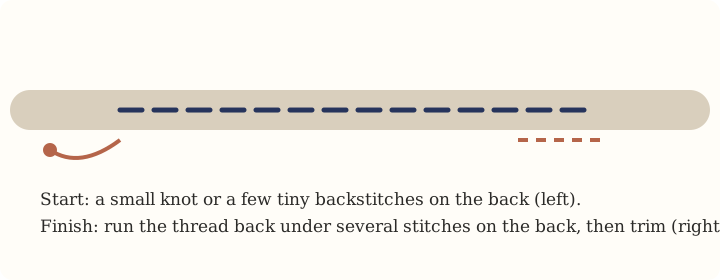
- Cut a comfortable length of thread and thread the needle. Many stitchers start with a small knot on the back or a few small backstitches to secure the end.
- Push the needle in and out along a marked line several times, gathering a few stitches on the needle before pulling the thread through.
- Smooth the fabric along the thread after each pull so it lies flat. Leave a little slack — pulling tight causes puckering.
- Try to keep stitches even. A common approach is to make the stitches on the front slightly longer than the gaps between them, but consistency matters more than exact measurements.
- At corners and turns, leave a small loop of thread on the back so the fabric can move without pulling.
- Finish by running the thread through a few stitches on the back, or with a small knot, then trim.

Choosing a first pattern
Straight-line and grid patterns are the friendliest place to start because they let you focus on rhythm. Traditional patterns have evocative names — asanoha (hemp leaf), seigaiha (blue ocean waves), kikkō (tortoiseshell) — and many are built by stitching rows of straight lines in different directions, one pass at a time. Browse them in our pattern library, or get free printable pattern sheets.
Common beginner questions
My fabric is puckering. What am I doing wrong?
Most likely the thread is pulled too tight. After each pull, stretch the stitched section gently between your fingers to ease the thread, and leave small loops on the back at turns.
My stitches are uneven. Does it matter?
Not much. Evenness improves quickly with practice, and slight variation is part of hand-stitched work. Loading several stitches on the needle at once helps.
Should I use a hoop?
Sashiko is traditionally stitched without a hoop, holding the fabric in your hands so it can be gathered on the needle. Try both and see what feels comfortable.
Ready to try? Our starter kit brings supplies together in one order, and our visible mending guide shows how to use the same stitch to repair clothes.